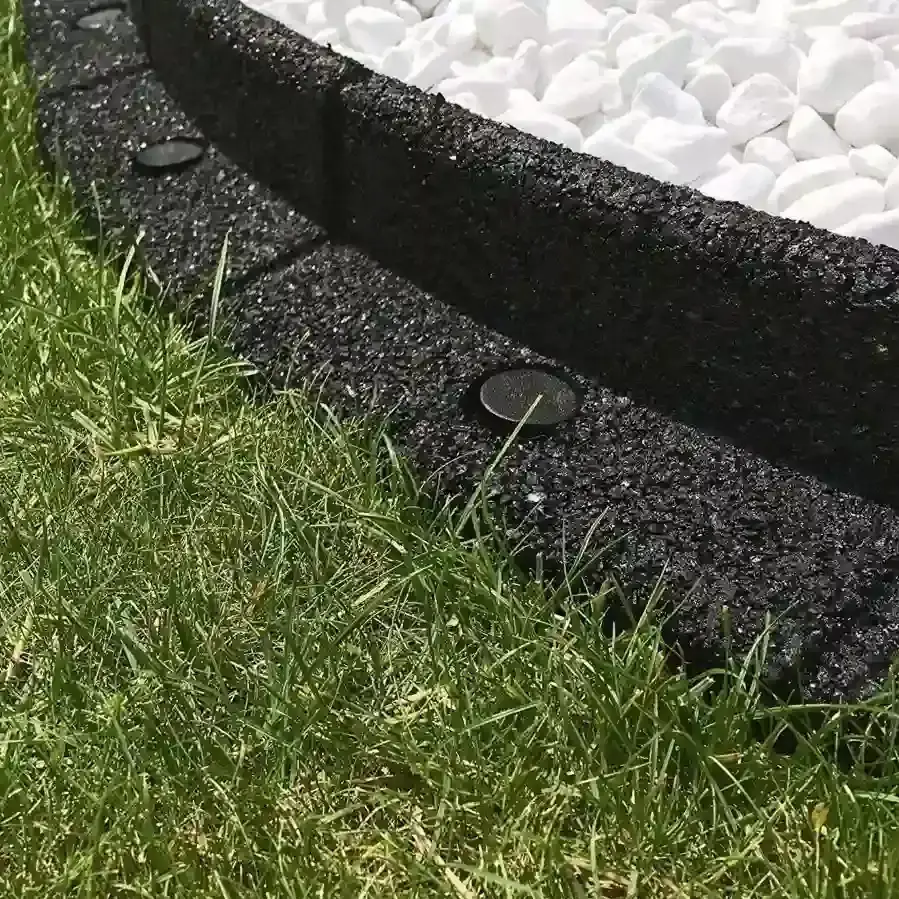
How to Install Easy Edge Garden Edging | Enviro Blocks
Easy Edge installation
Installation guide

Installed in four easy steps

No digging, no specialist tools, no experience needed. Easy Edge is designed for anyone — from first-timers to professional landscapers.

Done in an afternoon
One afternoon, done
Most residential garden edging projects take 2–4 hours from unpacking to finishing. No waiting for concrete to set, no specialist required.
No digging required
Zero excavation
Easy Edge pegs directly into the ground — no trenching, no removing soil, no disturbing existing lawn. Just lay, connect, and peg.
Everything included
All fixings in the box
Every pack includes the pegs and dowel joiners you need. The only optional extras are WD-40 (for tight dowels) and a handsaw if you need to trim sections to length.
DIY friendly
Anyone can do it
Easy Edge was designed for DIY installation. No landscaping experience needed. Hundreds of customers aged 60+ have installed it solo.
Bends up to 70°
TUV SUD certified flexible
Easy Edge bends up to 70° in both directions — TUV SUD certified. Create smooth curves, circles around trees, and tight corners with no specialist cutting required.

See how easy it really is

Our installation video shows the full process from unboxing to finished edge.

Watch the installation guide
Making a bend — Easy Edge in action

Installed in four easy steps

Follow along below. Each step includes a pro tip from our installation team.

01
Step 01 of 04

Lay out your lengths

Unpack your Easy Edge and lay the 1m sections flat along your planned line. Each section is lightweight and easy to reposition, so take your time getting the layout right before connecting anything. Use a garden hose or rope to mark out curved lines first.

Pro tip: On uneven ground, lay the sections flat and walk over them first — this helps them naturally conform to the terrain before you peg them down.
1m 1m 1m Lay sections along your planned line
02
Step 02 of 04

Connect with dowels

Using the provided dowels and pre-drilled holes, connect the lengths together. The dowels are designed to fit snugly — if they feel tight, apply a small amount of WD-40 to the dowel end to help it slide in smoothly.

Pro tip: A drop of dish soap works just as well as WD-40 if you don't have any on hand. Slide the dowel in with a gentle twisting motion rather than pushing straight in.
WD-40 Slide dowel through pre-drilled holes
03
Step 03 of 04

Peg into the ground

Use the included pegs to secure the Easy Edge in place. Press or tap them through the pre-drilled holes into the soil. On harder ground, use a rubber mallet. Each section only needs its pegs firmly seated — not flush with the surface.
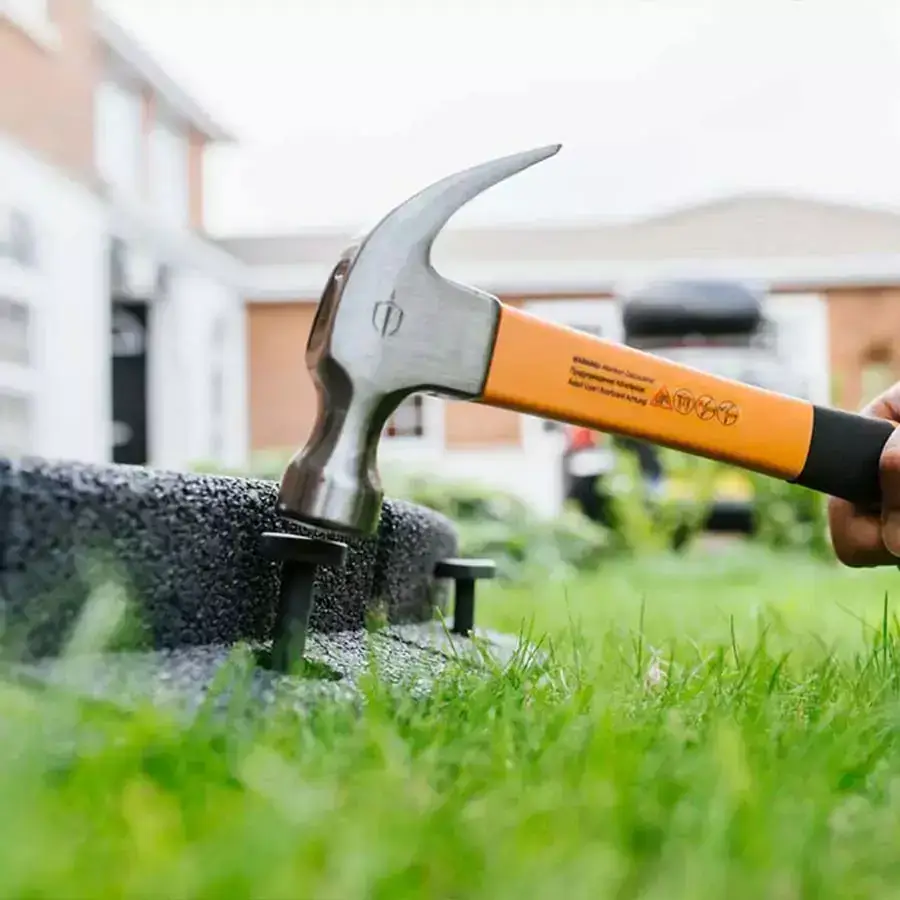
Pro tip: On rocky ground, use a narrow screwdriver to pre-punch pilot holes before inserting pegs. Buy a spare bag of pegs for rocky areas — they're inexpensive and worth having.
Tapping Easy Edge pegs into the ground with a mallet
04
Step 04 of 04

Done — enjoy the result

Once all sections are connected and pegged, step back and enjoy the result. Clean edges, professional finish, all in one afternoon. Need to trim a section to exact length? A standard handsaw cuts through cleanly in under a minute.
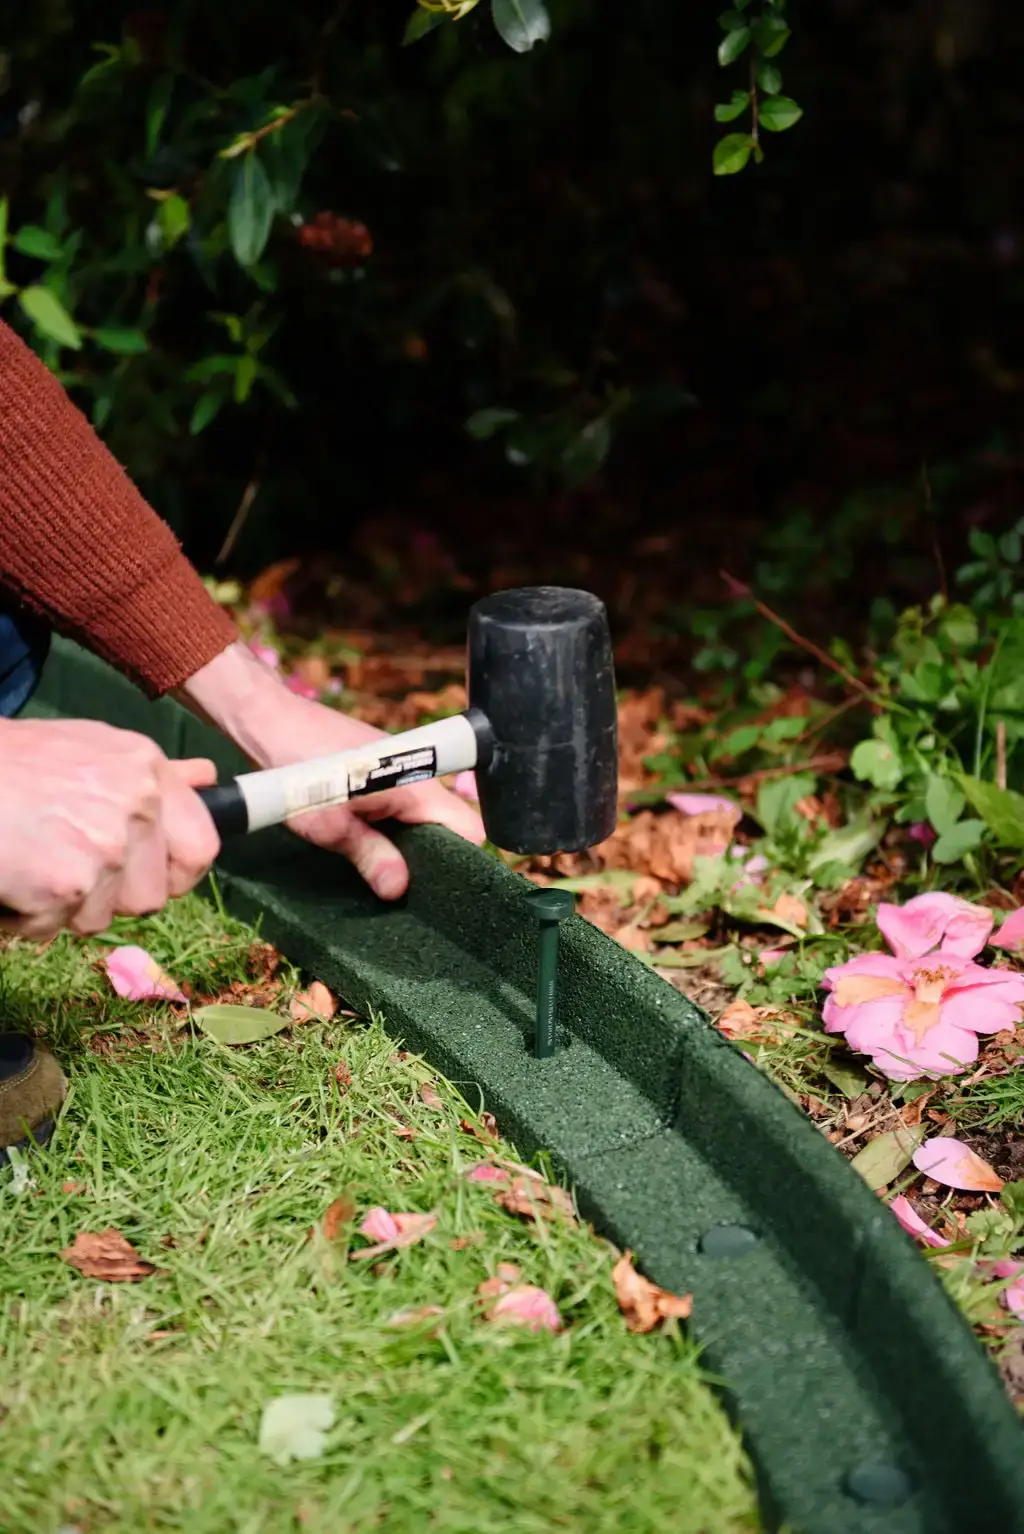
Optional finish: Apply a small dab of silicone over the peg tops for a neat, weatherproof finish — especially useful in very wet or coastal climates.
Finished Easy Edge installation — professional result in one afternoon

Creating circular borders

Easy Edge bends up to 70° per section, making smooth circles effortless. Use a stake and string to mark your radius before you start, then lay the edging along the line.

Connect the final section back to the first with a dowel and bond with Gorilla Glue for a seamless ring.

Pack length
Circle radius
Diameter
6 metres
95.5 cm
191 cm
8 metres
111.4 cm
222.8 cm
10 metres
159.2 cm
318.3 cm
10m — ⌀318 cm 8m 6m — ⌀191 cm 95.5cm

Tools & materials

Everything needed is included in your pack. These optional extras make the job even easier.

Included in every pack
Pegs & dowel joiners
Everything you need to connect sections and secure them to the ground. No hardware store run required.
Optional — highly recommended
WD-40
A small spray on dowel ends makes connections slide together effortlessly. A tiny tube of dish soap works as an alternative.
Optional — for hard ground
Rubber mallet
Helpful for tapping pegs into hard or rocky ground without bending them. Any mallet works — a block of wood does the job too.
Optional — if cutting to length
Handsaw
Any basic handsaw cuts Easy Edge cleanly in under a minute. For 45° corner cuts, use a mitre block (available from ~$10 at any hardware store).
Optional — for corners
Gorilla Glue
Bond 45° cut corners for crisp, permanent right angles. Any high-strength adhesive works. Holds in 30 seconds, fully cures overnight.
Optional — neat finish
Silicone sealant
Apply a dab over peg tops for a neat, weatherproof finish. Especially useful in coastal or very wet climates where water pooling around holes is a concern.

How much do you need?

Enter your measurements and we'll work out the right pack for you.

Pack calculator

Adds 3% automatically for cuts, corners, and waste

Recommended pack
Enter your measurements above
to see your recommendation
Shop now →

Helpful installation tips

From our installation team — answers to the trickier situations.

01 Uneven or sloped ground
On sloped ground, use extra pegs to keep the edging flush to the surface. A small amount of Gorilla Glue at section joints also prevents movement on steep angles. For very uneven terrain, cut sections shorter so each one conforms to a smaller contour change.
02 Hard clay or rocky soil
Pre-wet clay soil 30 minutes before installing. Use a rubber mallet to tap pegs gradually rather than forcing them. On rocky ground, a narrow screwdriver can pre-punch pilot holes. Keep spare pegs on hand — occasionally one will bend in very hard ground.
03 Driving over the edging
Easy Edge handles occasional vehicle contact without significant damage. For driveway edges, install it slightly recessed below the tyre track level, or use our 90° bends to route the edging away from the regular path. Each 1m section can be individually replaced if needed.
04 Making perfect corners
For crisp 90° corners, use a mitre block (~$10 at hardware stores) to cut two sections at 45°. Bond with Gorilla Glue, hold for 30 seconds, and allow to cure. Alternatively, our pre-made 90° bend accessories eliminate cutting entirely.
05 Attaching to timber or concrete
Standard exterior screws work for timber, masonry anchors for concrete — use the pre-drilled peg holes to attach the edging. Trim any peg tops flush and apply a dab of silicone over the fixing points for a neat, weatherproof finish.
Ready to start?

Get Easy Edge delivered to your door

Choose your colour, use the pack calculator to work out your quantities, and have it delivered anywhere in Australia.
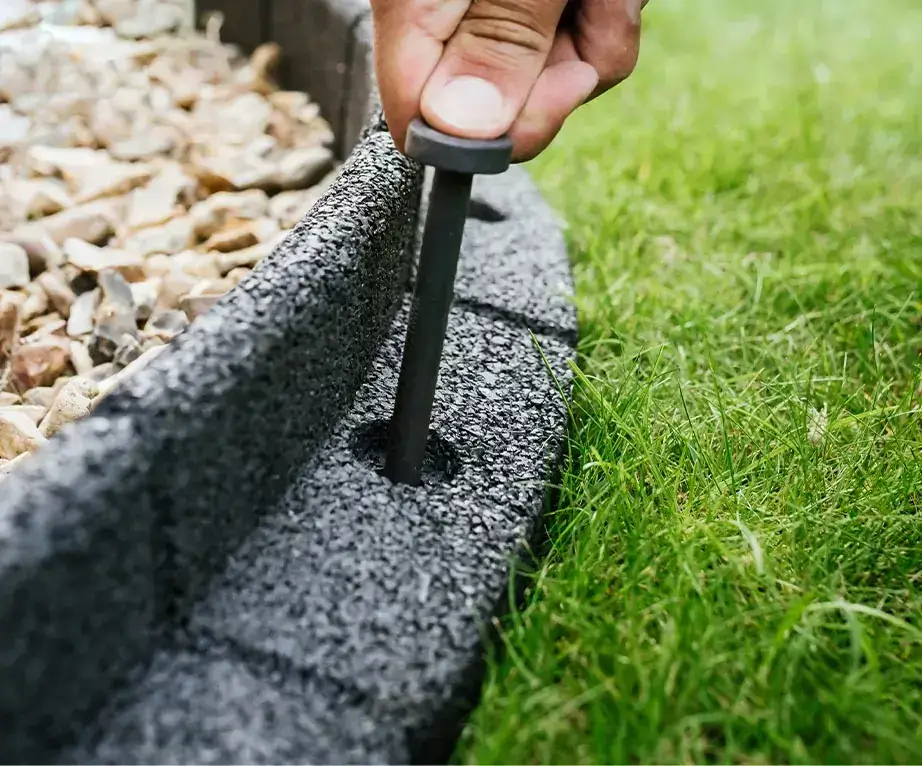
No digging requiredInstalls in an afternoonShips Australia-wide
Easy Edge garden edging installed

"Installed in under an hour. The calculator made it so easy to order exactly the right amount."

Verified customer — Granite Grey